
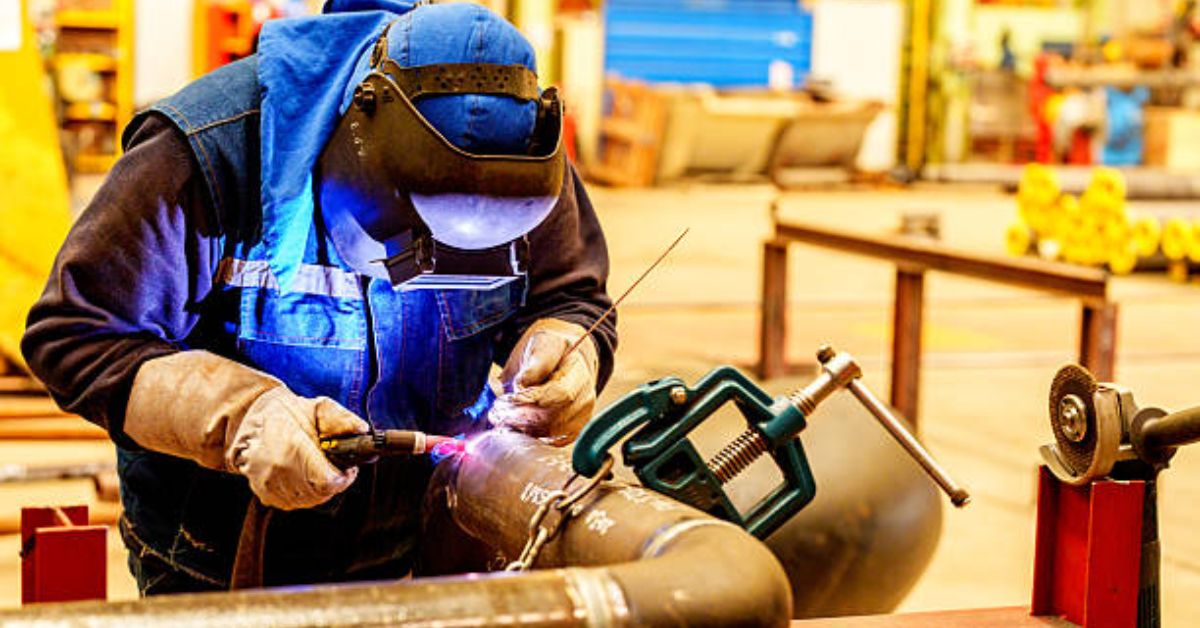
Setting up a home welding workshop doesn’t mean you need a huge garage or thousands of dollars worth of equipment. With the right planning, even a small workspace can handle basic welding projects, repairs, and metal fabrication.
According to Mark Reynolds, founder of ToolCruiser, “A good home welding setup isn’t about owning the most expensive tools. It’s about choosing equipment that fits your space, budget, and the projects you plan to tackle.”
The key is knowing where to spend your money and where you can save. Here’s how to build a practical home welding workshop without overspending.
1. Choose a Safe and Practical Workspace
Before buying welding equipment, decide where you’ll work.
A garage or dedicated workshop can be a good starting point, provided it has enough space, suitable ventilation, and proper fire protection. You’ll need room for your welding machine, workbench, and safe movement around your projects.
Keep these factors in mind:
- Ventilation: Welding produces hazardous fumes and gases. Use suitable local exhaust ventilation to capture fumes near the source.
- Fire safety: Remove combustible materials, including cardboard, sawdust, gasoline, and paint, from the welding area.
- Flooring: Concrete is a better choice than wooden flooring because it doesn’t catch fire from welding sparks.
- Lighting: Install bright overhead lighting so you can clearly see your work area.
- Electrical access: Check that your electrical circuit supports your welder’s input requirements.
Avoid welding in enclosed spaces without suitable ventilation. A household fan alone isn’t reliable protection from welding fumes.
2. Start With a Beginner-Friendly Welding Machine
Your welding machine will probably be the biggest expense, so choose carefully.
For most beginners working on mild steel, MIG or flux-core welding offers a manageable starting point.
MIG welding uses a continuously fed wire and shielding gas. It’s relatively easy to learn and works well for automotive repairs, furniture frames, and other fabrication projects.
Flux-core welding uses a tubular wire containing flux. Certain self-shielded wires don’t require an external shielding gas cylinder, making them convenient for outdoor repairs.
Stick welding is another option, particularly for thicker steel and outdoor work. TIG welding offers precise control but involves a steeper learning curve.
If you’re working with a limited budget, a basic 120V MIG or flux-core machine may be enough for light-duty projects. Just check the machine’s material thickness ratings, duty cycle, electrical requirements, and process capabilities before buying.
There’s no reason to invest in an expensive industrial machine if your main goal is repairing garden equipment or building simple metal shelves.
3. Invest in Essential Welding Safety Gear
Safety equipment isn’t the place to cut corners.
Welding exposes you to intense ultraviolet radiation, hot metal, sparks, electrical hazards, and harmful fumes. Even a quick repair can cause serious injuries without proper protection.
At minimum, your workshop should include:
- Auto-darkening welding helmet: Choose one that meets applicable welding eye protection standards and has the correct shade range.
- Welding gloves: Use heat-resistant gloves designed for your welding process.
- Flame-resistant clothing: Wear suitable welding clothing that covers exposed skin.
- Safety glasses: Protect your eyes from flying debris during grinding and preparation.
- Leather work boots: Closed-toe footwear helps protect against sparks and falling metal.
- Fire extinguisher: Keep an appropriate extinguisher accessible and learn how to use it.
Respiratory protection may also be necessary depending on the welding process, metal coatings, and effectiveness of your ventilation system.
Cheap protective gear can become expensive if it fails when you need it most. Prioritize certified equipment over unnecessary workshop accessories.
4. Build a Simple Welding Workbench
You don’t need an expensive commercial welding table to get started.
A sturdy steel workbench with a flat surface can handle many small projects. It should support the weight of your materials and provide a stable place for clamping.
Look for a workbench with:
- A solid, noncombustible work surface
- Enough room for your common project sizes
- Stable legs that won’t wobble
- Convenient access for clamps
- Space for safely positioning your work return clamp
You can also build your own welding table once you develop basic fabrication skills.
Avoid makeshift wooden tables or unstable supports. Sparks, hot metal, and heavy workpieces create unnecessary risks.
5. Buy Only the Tools You’ll Use Regularly
It’s easy to get carried away shopping for workshop tools.
However, you can complete plenty of beginner welding projects with a relatively small collection of accessories.
Start with an angle grinder, suitable cutting and grinding discs, wire brush, welding clamps, tape measure, and metal marking tools.
An angle grinder is especially useful. You can use it to remove rust, clean metal surfaces, prepare joints, and smooth finished welds.
Clamps are equally important because they keep workpieces aligned while you tack weld and assemble them.
As your skills improve, you can add specialized tools such as a metal-cutting saw, drill press, or plasma cutter.
Buying equipment gradually lets you understand what your projects really require rather than filling your garage with tools that rarely get used.
6. Plan a Realistic Workshop Budget
How much does a basic home welding workshop cost?
The answer depends on the welding process, equipment quality, and tools you already own.
Here’s an illustrative budget for a small beginner setup.
| Equipment | Estimated Cost |
| Entry-level MIG or flux-core welder | 200–400 |
| Auto-darkening welding helmet | 50–100 |
| Gloves and protective clothing | 50–100 |
| Angle grinder and accessories | 50–100 |
| Welding clamps and hand tools | 40–80 |
| Basic steel workbench | 100–200 |
| Estimated total | 490–980 |
These are planning estimates, not live retail quotes. Actual costs vary by equipment and location.
The budget also excludes shielding gas, consumables, electrical upgrades, ventilation equipment, and other safety requirements that may apply to your workspace.
If you already own an angle grinder or suitable workbench, you can reduce your initial spending.
Another way to save is by purchasing used equipment. However, inspect secondhand welders carefully, particularly their cables, connections, controls, and electrical condition.
7. Keep Your Workshop Organized
A small workshop becomes frustrating when cables, tools, and metal scraps cover every surface.
Simple organization makes welding easier and reduces unnecessary hazards.
Install wall-mounted tool storage, use metal shelving for supplies, and create separate spaces for clean materials and scrap metal.
Keep welding cables away from sharp edges, hot surfaces, and walking paths. Store compressed gas cylinders upright and secured, following supplier safety instructions.
It also helps to establish a cleaning routine.
Remove metal scraps, check for damaged equipment, and inspect the work area for smoldering materials after welding. Follow an appropriate post-welding fire watch whenever the work presents a fire risk.
An organized workshop doesn’t just look better. It gives you more usable space without requiring a bigger garage.
Final Words
Building a home welding workshop is more about smart choices than expensive equipment.
Start with a safe workspace, choose a welder suited to your projects, and invest in dependable protective gear. Add tools as you need them instead of buying everything at once.
A modest setup can provide plenty of opportunities to practice welding, repair metal items, and build your first projects. With experience, you’ll have a much better idea of which upgrades are worth the money.